
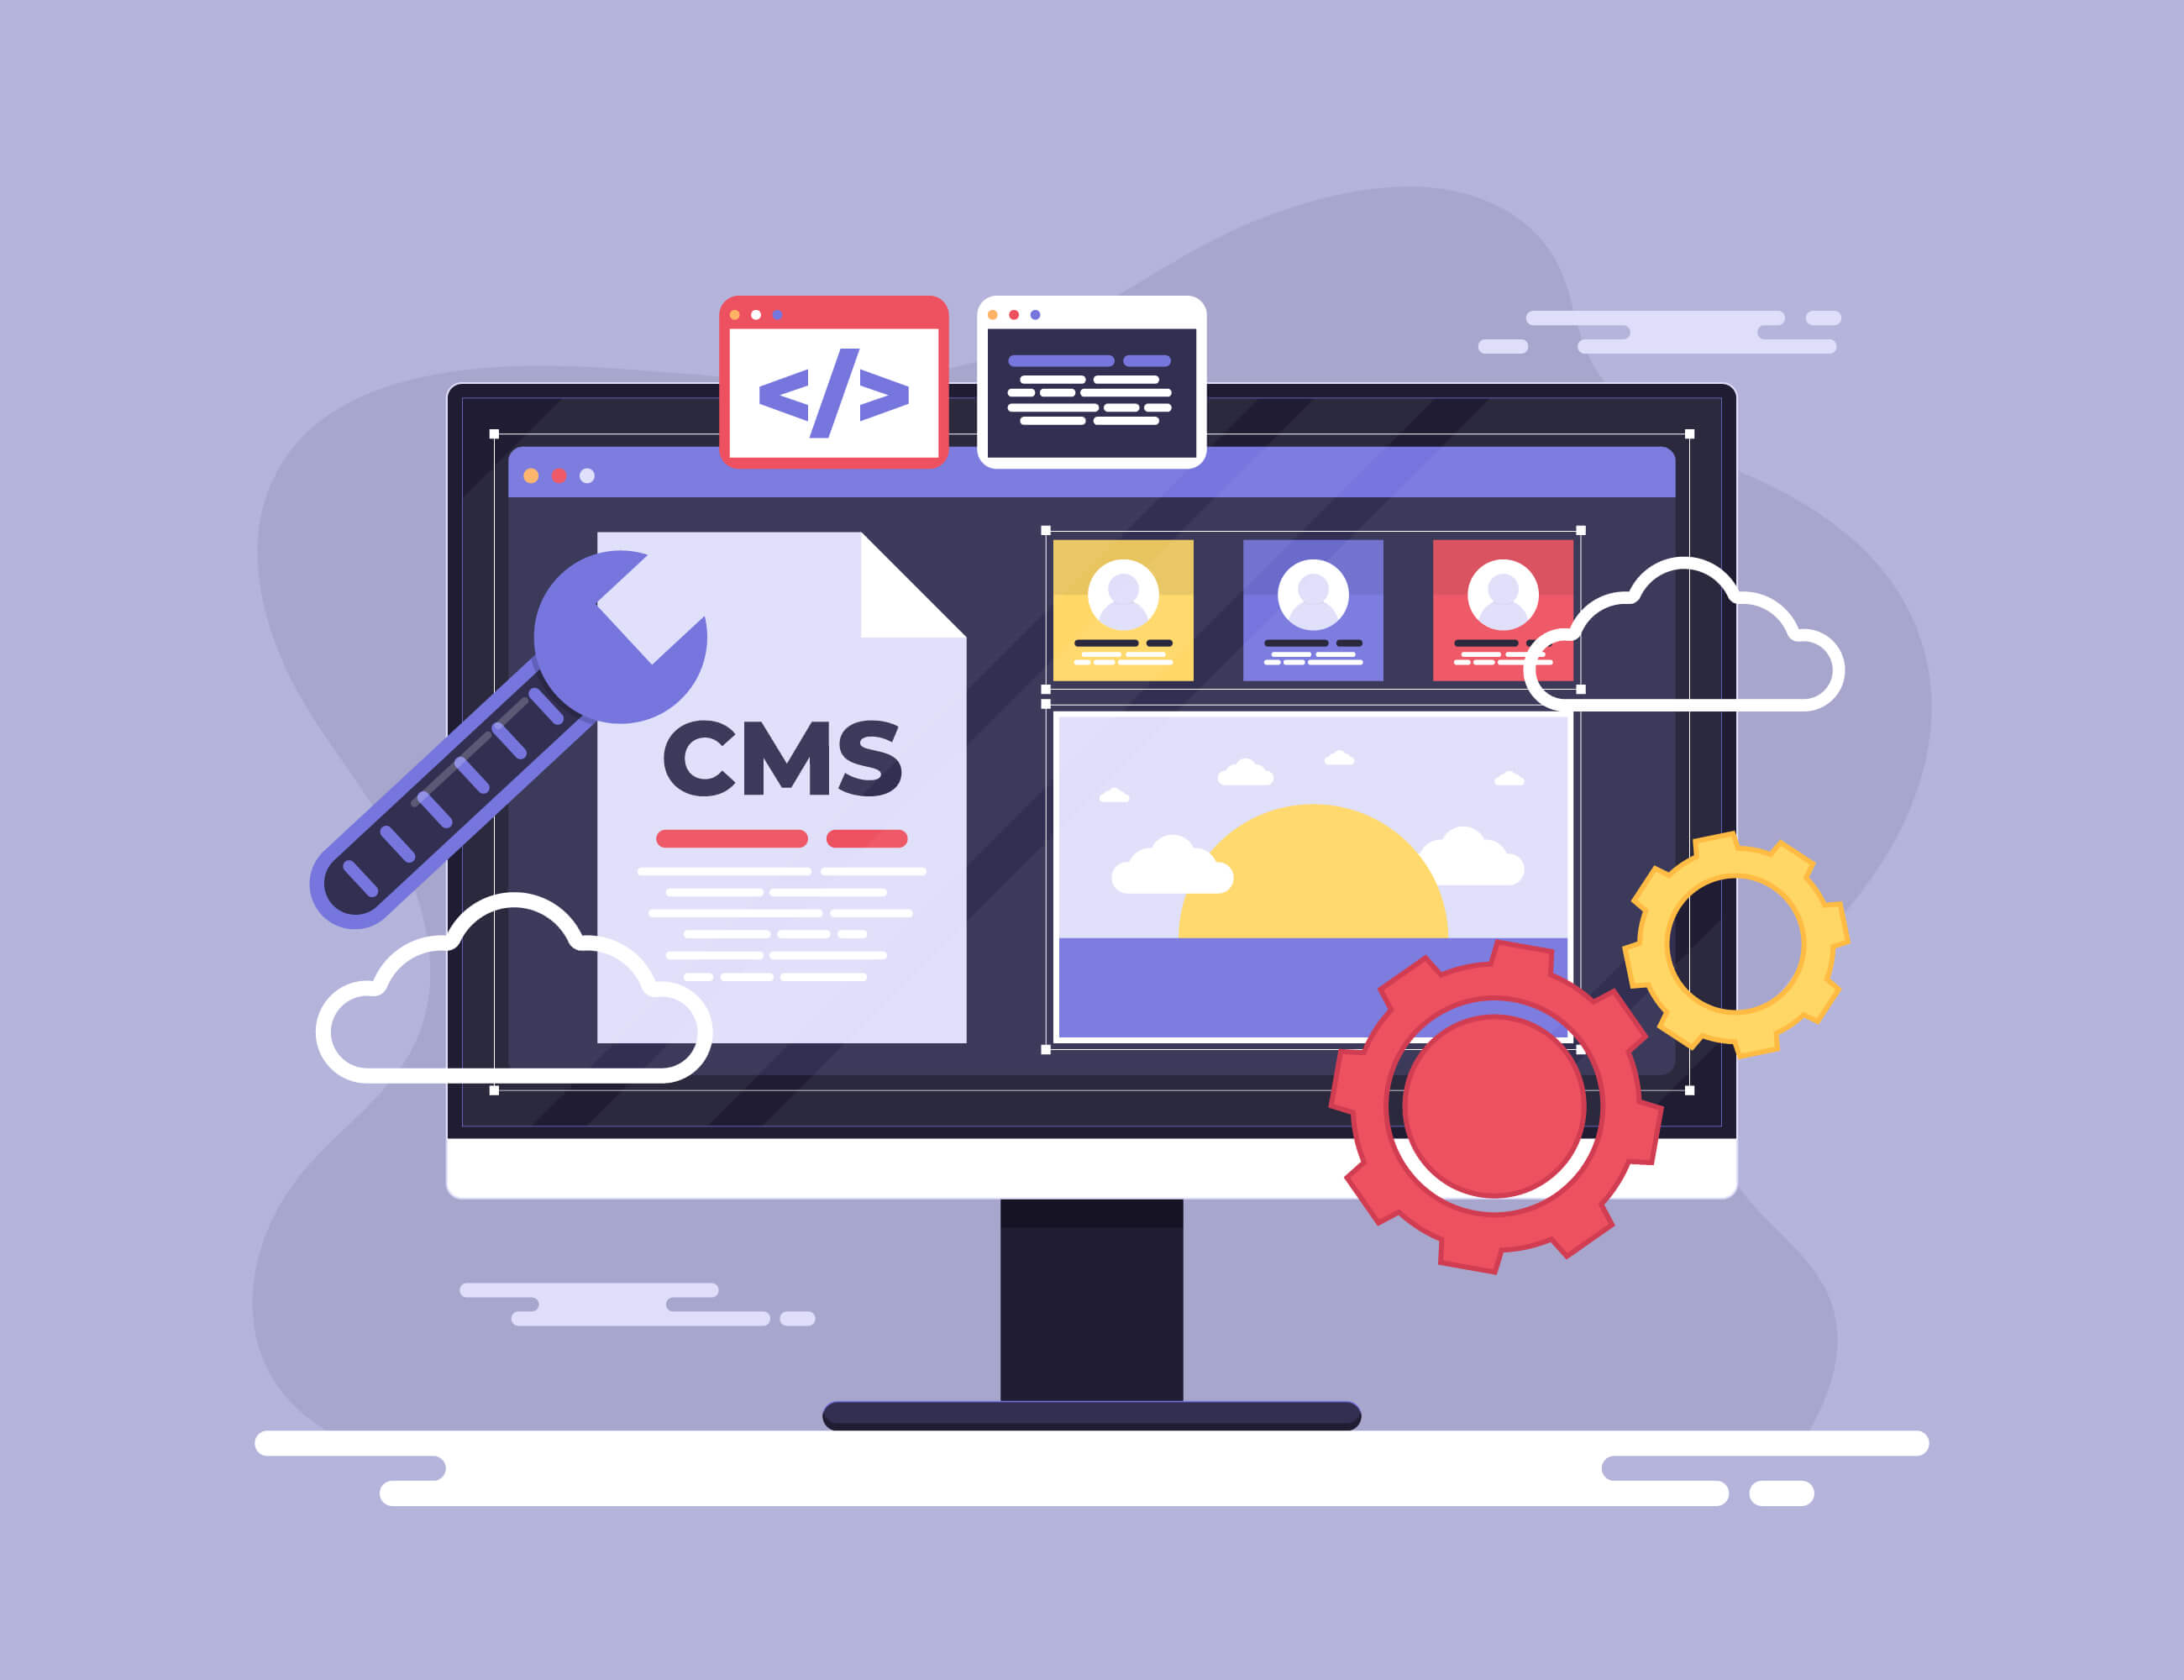
Unleashing Creativity: A Guide to Creating Bootstrap 5 WordPress Templates
WordPress, known for its flexibility and user-friendly interface, powers a significant portion of the internet. Combining the power of WordPress with the sleek and responsive design of Bootstrap 5 can result in visually stunning and highly functional websites. In this article, we'll delve into the steps to create Bootstrap 5 WordPress templates, enabling you to craft beautiful and dynamic themes for your WordPress projects. Set Up Your Development Environment: Before diving into theme development, ensure you have a local development environment ready. Tools like XAMPP or MAMP can help you set up a local server for WordPress development. Understand Bootstrap 5 Basics: Familiarize yourself with Bootstrap 5's documentation, which provides insights into the framework's grid system, components, and utilities. This understanding will be crucial when integrating Bootstrap into your WordPress theme. Create a Basic WordPress Theme: Start by creating a simple WordPress theme. You can do this by setting up a new directory within the 'wp-content/themes' folder and creating essential files like style.css, index.php, and functions.php. This serves as the foundation for your Bootstrap-powered theme. Enqueue Bootstrap Styles and Scripts: In your theme's functions.php file, enqueue Bootstrap's styles and scripts. You can include them directly from a CDN or download and host them locally. Enqueue the styles in the header and scripts in the footer to optimize loading times. // Enqueue Bootstrap styles function enqueue_bootstrap_styles() { wp_enqueue_style('bootstrap-css', 'https://cdn.jsdelivr.net/npm/[email protected]/dist/css/bootstrap.min.css'); } add_action('wp_enqueue_scripts', 'enqueue_bootstrap_styles'); // Enqueue Bootstrap scripts function enqueue_bootstrap_scripts() { wp_enqueue_script('bootstrap-js', 'https://cdn.jsdelivr.net/npm/[email protected]/dist/js/bootstrap.bundle.min.js', array('jquery'), true); } add_action('wp_enqueue_scripts', 'enqueue_bootstrap_scripts'); Leverage Bootstrap Components: Integrate Bootstrap components into your theme by utilizing classes and HTML structure provided by the framework. Leverage components like the navigation bar, cards, and modals to enhance the visual appeal and functionality of your WordPress theme. Implement Responsive Design: Bootstrap is renowned for its responsive design capabilities. Ensure that your WordPress theme adapts seamlessly to various screen sizes by utilizing Bootstrap's responsive utilities. Test your theme on different devices to guarantee a consistent and user-friendly experience. Customize Your Theme Styles: While Bootstrap provides a solid foundation, customize your theme's styles to give it a unique look. Create a custom stylesheet within your theme directory, override Bootstrap styles as needed, and add your own design elements to make your WordPress theme distinct. Integrate WordPress Features: Integrate essential WordPress features into your theme, such as dynamic page titles, post loops, and widget areas. Ensure compatibility with popular plugins and make your theme user-friendly by incorporating WordPress best practices. Optimize for Performance: Optimize your Bootstrap 5 WordPress theme for performance by minimizing the use of unnecessary styles and scripts. Utilize tools like WP Rocket or Autoptimize to further enhance your theme's loading times. Test Extensively: Thoroughly test your Bootstrap 5 WordPress theme on different browsers and devices to ensure cross-browser compatibility and responsiveness. Resolve any issues that arise during testing to provide a seamless experience for your users. Creating Bootstrap 5 WordPress templates is an exciting journey that combines the versatility of WordPress with the robust design principles of Bootstrap. By following these steps and continuously refining your skills, you can craft visually stunning and highly functional themes that stand out in the vast world of WordPress web development. Remember to stay updated with the latest Bootstrap and WordPress developments to keep your themes cutting-edge and responsive to the evolving needs of the online community. Below is a simplified example of a Bootstrap 5 WordPress theme. Please note that this is a basic template, and for a real-world project, you might want to consider additional features, customization options, and optimizations. Step 1: Create a new theme folder Inside your WordPress wp-content/themes directory, create a new folder for your theme. Let's call it "bootstrap5-theme." Step 2: Create necessary files Create the essential files for your theme: style.css, index.php, and functions.php. style.css: /* Theme Name: Born To Browse Theme Theme URI: https://borntobrowse.com/ Description: A Bootstrap 5 powered WordPress theme. Version: 1.0 Author: Born To Browse */ index.php: <!DOCTYPE html> <html <?php language_attributes(); ?>> <head> <meta charset="<?php bloginfo('charset'); ?>"> <meta name="viewport" content="width=device-width, initial-scale=1"> <?php wp_head(); ?> </head> <body <?php body_class(); ?>> <!-- Navigation --> <nav class="navbar navbar-expand-lg navbar-light bg-light"> <div class="container"> <a class="navbar-brand" href="<?php echo home_url(); ?>"><?php bloginfo('name'); ?></a> <?php wp_nav_menu(array( 'theme_location' => 'primary', 'menu_class' => 'navbar-nav ml-auto', )); ?> </div> </nav> <!-- Content --> <div class="container"> <?php if (have_posts()) : while (have_posts()) : the_post(); the_title('<h1>', '</h1>'); the_content(); endwhile; endif; ?> </div> <?php wp_footer(); ?> </body> </html> functions.php: <?php // Enqueue Bootstrap styles and scripts function enqueue_bootstrap_styles() { wp_enqueue_style('bootstrap-css', 'https://cdn.jsdelivr.net/npm/[email protected]/dist/css/bootstrap.min.css'); } add_action('wp_enqueue_scripts', 'enqueue_bootstrap_styles'); function enqueue_bootstrap_scripts() { wp_enqueue_script('bootstrap-js', 'https://cdn.jsdelivr.net/npm/[email protected]/dist/js/bootstrap.bundle.min.js', array('jquery'), true); } add_action('wp_enqueue_scripts', 'enqueue_bootstrap_scripts'); // Register navigation menu function register_nav_menu() { register_nav_menus(array( 'primary' => __('Primary Menu', 'bootstrap5-theme'), )); } add_action('after_setup_theme', 'register_nav_menu'); ?> Step 3: Activate your theme Go to the WordPress admin panel, navigate to "Appearance" > "Themes," and activate your Bootstrap 5 theme. Step 4: Create a WordPress menu In the WordPress admin panel, go to "Appearance" > "Menus" and create a new menu. Assign it to the "Primary Menu" location. This is a basic setup. You can customize and extend this theme further by adding more templates, widget areas, customizer options, and other features based on your project requirements.
Supercharge Your WordPress Website: 10 Proven Strategies to Boost Speed and Performance
In the fast-paced digital era, website speed plays a crucial role in user experience and search engine rankings. If you're running a WordPress website, optimizing its speed should be a top priority. A faster website not only enhances user satisfaction but also contributes to better SEO performance. In this article, we'll explore 10 proven strategies to speed up your WordPress site and ensure optimal performance. Choose a Lightweight Theme: Start by selecting a lightweight and well-coded theme for your WordPress website. A bloated theme with unnecessary features can slow down your site. Look for a theme that prioritizes speed and performance without compromising on design and functionality. Optimize Images: Large image files are one of the primary culprits behind slow-loading websites. Compress and optimize your images using tools like TinyPNG or WP Smush. Additionally, consider lazy loading images, which loads images only when they become visible to the user, reducing initial page load times. Utilize Caching: Implementing caching mechanisms can significantly improve your website's speed. WordPress offers various caching plugins like W3 Total Cache and WP Super Cache. These plugins generate static HTML files, reducing the need for resource-intensive dynamic page generation on every visit. Minimize HTTP Requests: Each element on your webpage, such as images, scripts, and stylesheets, requires an HTTP request. Minimize the number of these requests by combining files and using CSS sprites. This reduces the time it takes for a browser to fetch and load all necessary elements. Optimize Database: Regularly clean up and optimize your WordPress database to remove unnecessary data, such as post revisions, spam comments, and unused plugins. Plugins like WP-Optimize can automate this process, ensuring that your database remains efficient and responsive. Enable Browser Caching: Leverage browser caching to store static files, such as images, CSS, and JavaScript, locally on visitors' devices. This way, users who return to your site won't need to re-download these elements, resulting in faster load times. You can enable browser caching through your web server or use a caching plugin. Upgrade Hosting Plan: Ensure your hosting plan is suitable for your website's traffic and resource requirements. Consider upgrading to a dedicated or managed WordPress hosting plan, as these often come with performance optimizations, server-level caching, and other features to enhance speed. Implement Content Delivery Network (CDN): A Content Delivery Network distributes your website's static content across multiple servers worldwide, reducing latency and improving load times for users globally. Popular CDN services like Cloudflare and StackPath integrate seamlessly with WordPress and can be easily configured for optimal performance. Minify CSS and JavaScript: Minification involves removing unnecessary characters, spaces, and line breaks from CSS and JavaScript files. This reduces file sizes and speeds up their loading times. WordPress plugins like Autoptimize can automatically handle the minification process for you. Regularly Update WordPress and Plugins: Stay on top of updates for both WordPress core and plugins. Developers frequently release updates to improve security, fix bugs, and enhance performance. Keeping everything up-to-date ensures that you benefit from the latest optimizations and improvements. By implementing these strategies, you can supercharge your WordPress website, providing visitors with a faster and more enjoyable experience. Regularly monitoring your site's performance and making necessary adjustments will help you maintain optimal speed and stay ahead in the competitive online landscape. Remember, a swift and responsive website is not just about pleasing your audience; it's also a crucial factor in achieving higher search engine rankings and overall online success.

How to create a multilingual site using PHP and a database?
Creating a multilingual website involves managing content in multiple languages and displaying the appropriate language based on user preferences or other factors. In this article, we'll explore how to create a multilingual site using PHP and a database. We'll assume that you have a basic understanding of PHP, HTML, and MySQL. 1. Database Setup Start by setting up a database to store your content translations. Create a table to store the translations, where each row corresponds to a specific content item, and columns represent different languages. Here's a simplified example: CREATE TABLE translations ( id INT AUTO_INCREMENT PRIMARY KEY, content_id INT, language_code VARCHAR(10), translated_text TEXT ); 2. Content Management Create a system for managing multilingual content. This could be a simple backend where you can add, edit, and delete content for each language. Ensure that content is associated with its corresponding translation entries in the database. 3. Language Selection Implement a language selection mechanism. This can be achieved using sessions, cookies, or URL parameters. For simplicity, we'll use URL parameters in this example. // Get the selected language from the URL or default to English $selected_language = isset($_GET['lang']) ? $_GET['lang'] : 'en'; // Store the selected language in a session variable session_start(); $_SESSION['language'] = $selected_language; 4. Fetching Translations Create a function to fetch translations based on the selected language and the content ID. function getTranslation($content_id, $language) { // Implement your database connection here $pdo = new PDO('mysql:host=localhost;dbname=your_database', 'username', 'password'); $query = "SELECT translated_text FROM translations WHERE content_id = :content_id AND language_code = :language"; $statement = $pdo->prepare($query); $statement->bindParam(':content_id', $content_id, PDO::PARAM_INT); $statement->bindParam(':language', $language, PDO::PARAM_STR); $statement->execute(); $result = $statement->fetch(PDO::FETCH_ASSOC); return ($result !== false) ? $result['translated_text'] : null; } 5. Displaying Content When rendering content on your pages, call the getTranslation function to retrieve the appropriate translation. $content_id = 1; // Replace with the actual content ID $translated_text = getTranslation($content_id, $selected_language); echo "<p>{$translated_text}</p>"; 6. Wrap-up By following these steps, you've created a simple multilingual website using PHP and a database. Remember to extend this example based on your specific requirements, such as handling more complex content types, adding languages, or implementing a better user interface for content management.

Exploring Free Alternatives for cPanel: A Comprehensive Guide to Server Management
cPanel has long been a dominant force in the web hosting industry, providing a user-friendly interface and powerful tools for server management. However, for those seeking free alternatives due to budget constraints or a desire for open-source solutions, there are several capable options available. In this article, we'll delve into some of the best free cPanel alternatives that offer robust server management features without the associated costs. Webmin: Webmin is a versatile and open-source control panel that caters to Unix-like systems. It provides a clean and intuitive interface for server management tasks, including user account management, file handling, and system configuration. Webmin's modular design and extensive list of modules make it adaptable to a variety of server setups, making it a powerful alternative to cPanel. Virtualmin: Built on top of Webmin, Virtualmin is a free and open-source control panel designed specifically for managing virtual servers. It excels in handling multiple domains and offers features such as domain and user account management, DNS configuration, and email setup. Virtualmin is known for its scalability, making it suitable for both small-scale websites and larger, more complex hosting environments. ISPConfig: ISPConfig is an open-source control panel that serves both administrators and end-users. It provides a comprehensive set of features for server management, including website hosting, email configuration, and DNS management. ISPConfig's modular structure and plugin system enhance its flexibility, allowing users to customize their server environment according to their specific needs. CentOS Web Panel: Designed specifically for CentOS servers, CentOS Web Panel is a free and feature-rich control panel that simplifies server management. It offers tools for system monitoring, file management, and email configuration. CentOS Web Panel is known for its user-friendly interface and ease of installation, making it accessible to users with varying levels of technical expertise. Ajenti: Ajenti is an open-source control panel that focuses on simplicity and extensibility. It provides a clean and responsive interface for server management tasks, including system monitoring, file management, and user account administration. Ajenti's modular design allows users to add plugins for additional functionalities, offering a customizable experience for server administrators. CloudPanel: A noteworthy addition to the list is CloudPanel, a free and user-friendly control panel designed for cloud servers. CloudPanel simplifies server management, providing tools for domain and database management, SSL configuration, and more. Its focus on cloud compatibility makes it an excellent choice for those utilizing cloud-based hosting solutions. While cPanel remains a popular choice, these free alternatives offer compelling solutions for server management. Whether opting for the versatility of Webmin, virtual server capabilities of Virtualmin, comprehensive features of ISPConfig, CentOS-focused tools of CentOS Web Panel, the simplicity of Ajenti, or the cloud compatibility of CloudPanel, these alternatives cater to diverse needs without the financial burden. Explore these options to find the free cPanel alternative that aligns best with your server management requirements.