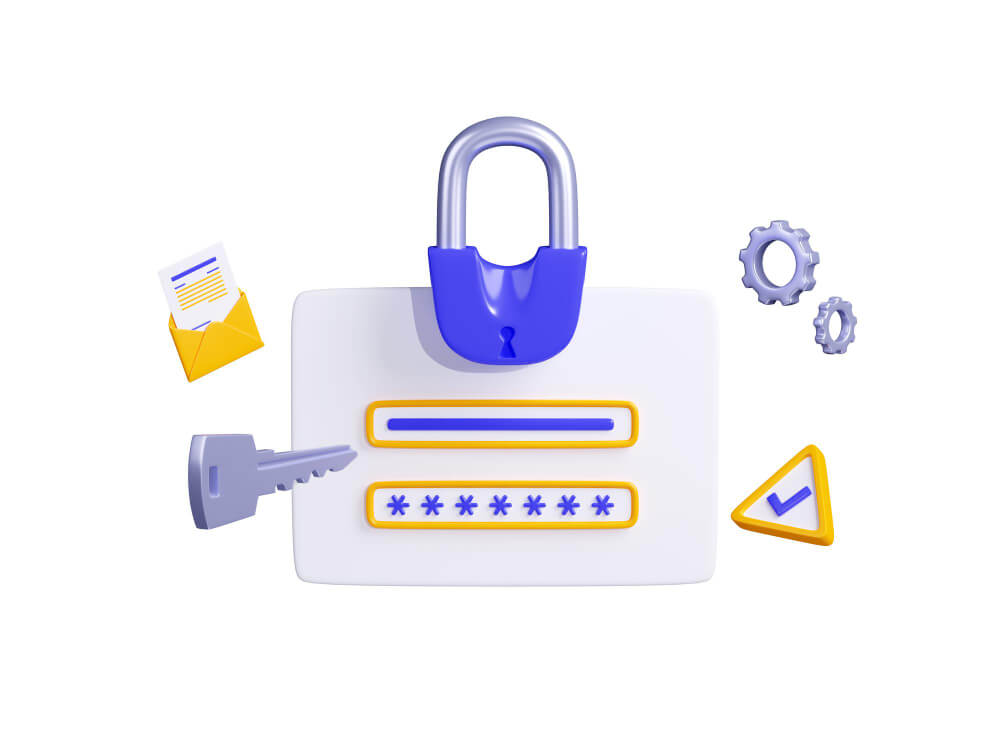
Creating a Secure PHP Login System with Bootstrap 5
In the realm of web development, building a robust and secure login system is crucial for safeguarding user data and ensuring a seamless user experience. In this tutorial, we will guide you through the process of creating a PHP login system using the latest version of the popular front-end framework, Bootstrap 5. Prerequisites: Before diving into the tutorial, make sure you have the following tools and technologies installed: A local server environment (e.g., XAMPP, MAMP, or WampServer) for testing the PHP scripts. A text editor (e.g., Visual Studio Code, Sublime Text, or Atom) for writing and editing code. Step 1: Setting Up Your Project Create a new project folder on your local server and open it in your preferred text editor. Within this folder, create the following files: index.php login.php logout.php dashboard.php style.css Step 2: Integrating Bootstrap 5 Download Bootstrap 5 from the official website or include it via CDN in the <head> section of your HTML files. Add the following link to your index.php file: <!DOCTYPE html> <html lang="en"> <head> <meta charset="UTF-8"> <meta name="viewport" content="width=device-width, initial-scale=1"> <title>Your PHP Login</title> <link href="https://cdn.jsdelivr.net/npm/[email protected]/dist/css/bootstrap.min.css" rel="stylesheet"> <link rel="stylesheet" href="style.css"> </head> <body> <!-- Content goes here --> <script src="https://cdn.jsdelivr.net/npm/[email protected]/dist/js/bootstrap.bundle.min.js"></script> </body> </html> Step 3: Creating the Login Form In your index.php file, create a simple login form using Bootstrap components. Include the form inside the <body> tags: <div class="container mt-5"> <div class="row justify-content-center"> <div class="col-md-6"> <div class="card"> <div class="card-header"> Login </div> <div class="card-body"> <form action="login.php" method="post"> <div class="mb-3"> <label for="username" class="form-label">Username:</label> <input type="text" class="form-control" id="username" name="username" required> </div> <div class="mb-3"> <label for="password" class="form-label">Password:</label> <input type="password" class="form-control" id="password" name="password" required> </div> <button type="submit" class="btn btn-primary">Login</button> </form> </div> </div> </div> </div> </div> Step 4: Creating the Login Script (login.php) Create a login.php file to handle the login process. This script will validate user credentials and redirect to the dashboard upon successful login: <?php session_start(); if ($_SERVER['REQUEST_METHOD'] === 'POST') { // Validate user credentials (add your own validation logic here) // For example, check if the username and password match a hardcoded value $valid_username = 'demo'; $valid_password = 'password'; if ($_POST['username'] === $valid_username && $_POST['password'] === $valid_password) { // Set session variables $_SESSION['username'] = $valid_username; // Redirect to the dashboard header('Location: dashboard.php'); exit; } else { // Display an error message (customize based on your needs) echo '<p class="text-danger">Invalid username or password</p>'; } } ?> Step 5: Creating the Dashboard (dashboard.php) Create a dashboard.php file to represent the user's dashboard after a successful login. Include a check at the beginning of the file to ensure that the user is authenticated: <?php session_start(); // Check if the user is not logged in, redirect to the login page if (!isset($_SESSION['username'])) { header('Location: index.php'); exit; } ?> <!DOCTYPE html> <html lang="en"> <head> <!-- Include Bootstrap and your custom styles --> </head> <body> <!-- Your dashboard content goes here --> </body> </html> Step 6: Styling with Custom CSS (style.css) Customize your login form and dashboard by adding styles in the style.css file. For example, you can adjust the colors, margins, and font sizes to match your project's design. /* Add your custom styles here */ body { background-color: #f8f9fa; } .container { height: 100vh; display: flex; align-items: center; } .card { width: 100%; } .btn-primary { background-color: #007bff; border-color: #007bff; } Congratulations! You've successfully created a simple and secure PHP login system using Bootstrap 5. This tutorial provides a foundation that you can expand upon by adding features like user registration, password recovery, and more. Always prioritize security best practices and keep your codebase up to date with the latest standards. Happy coding!
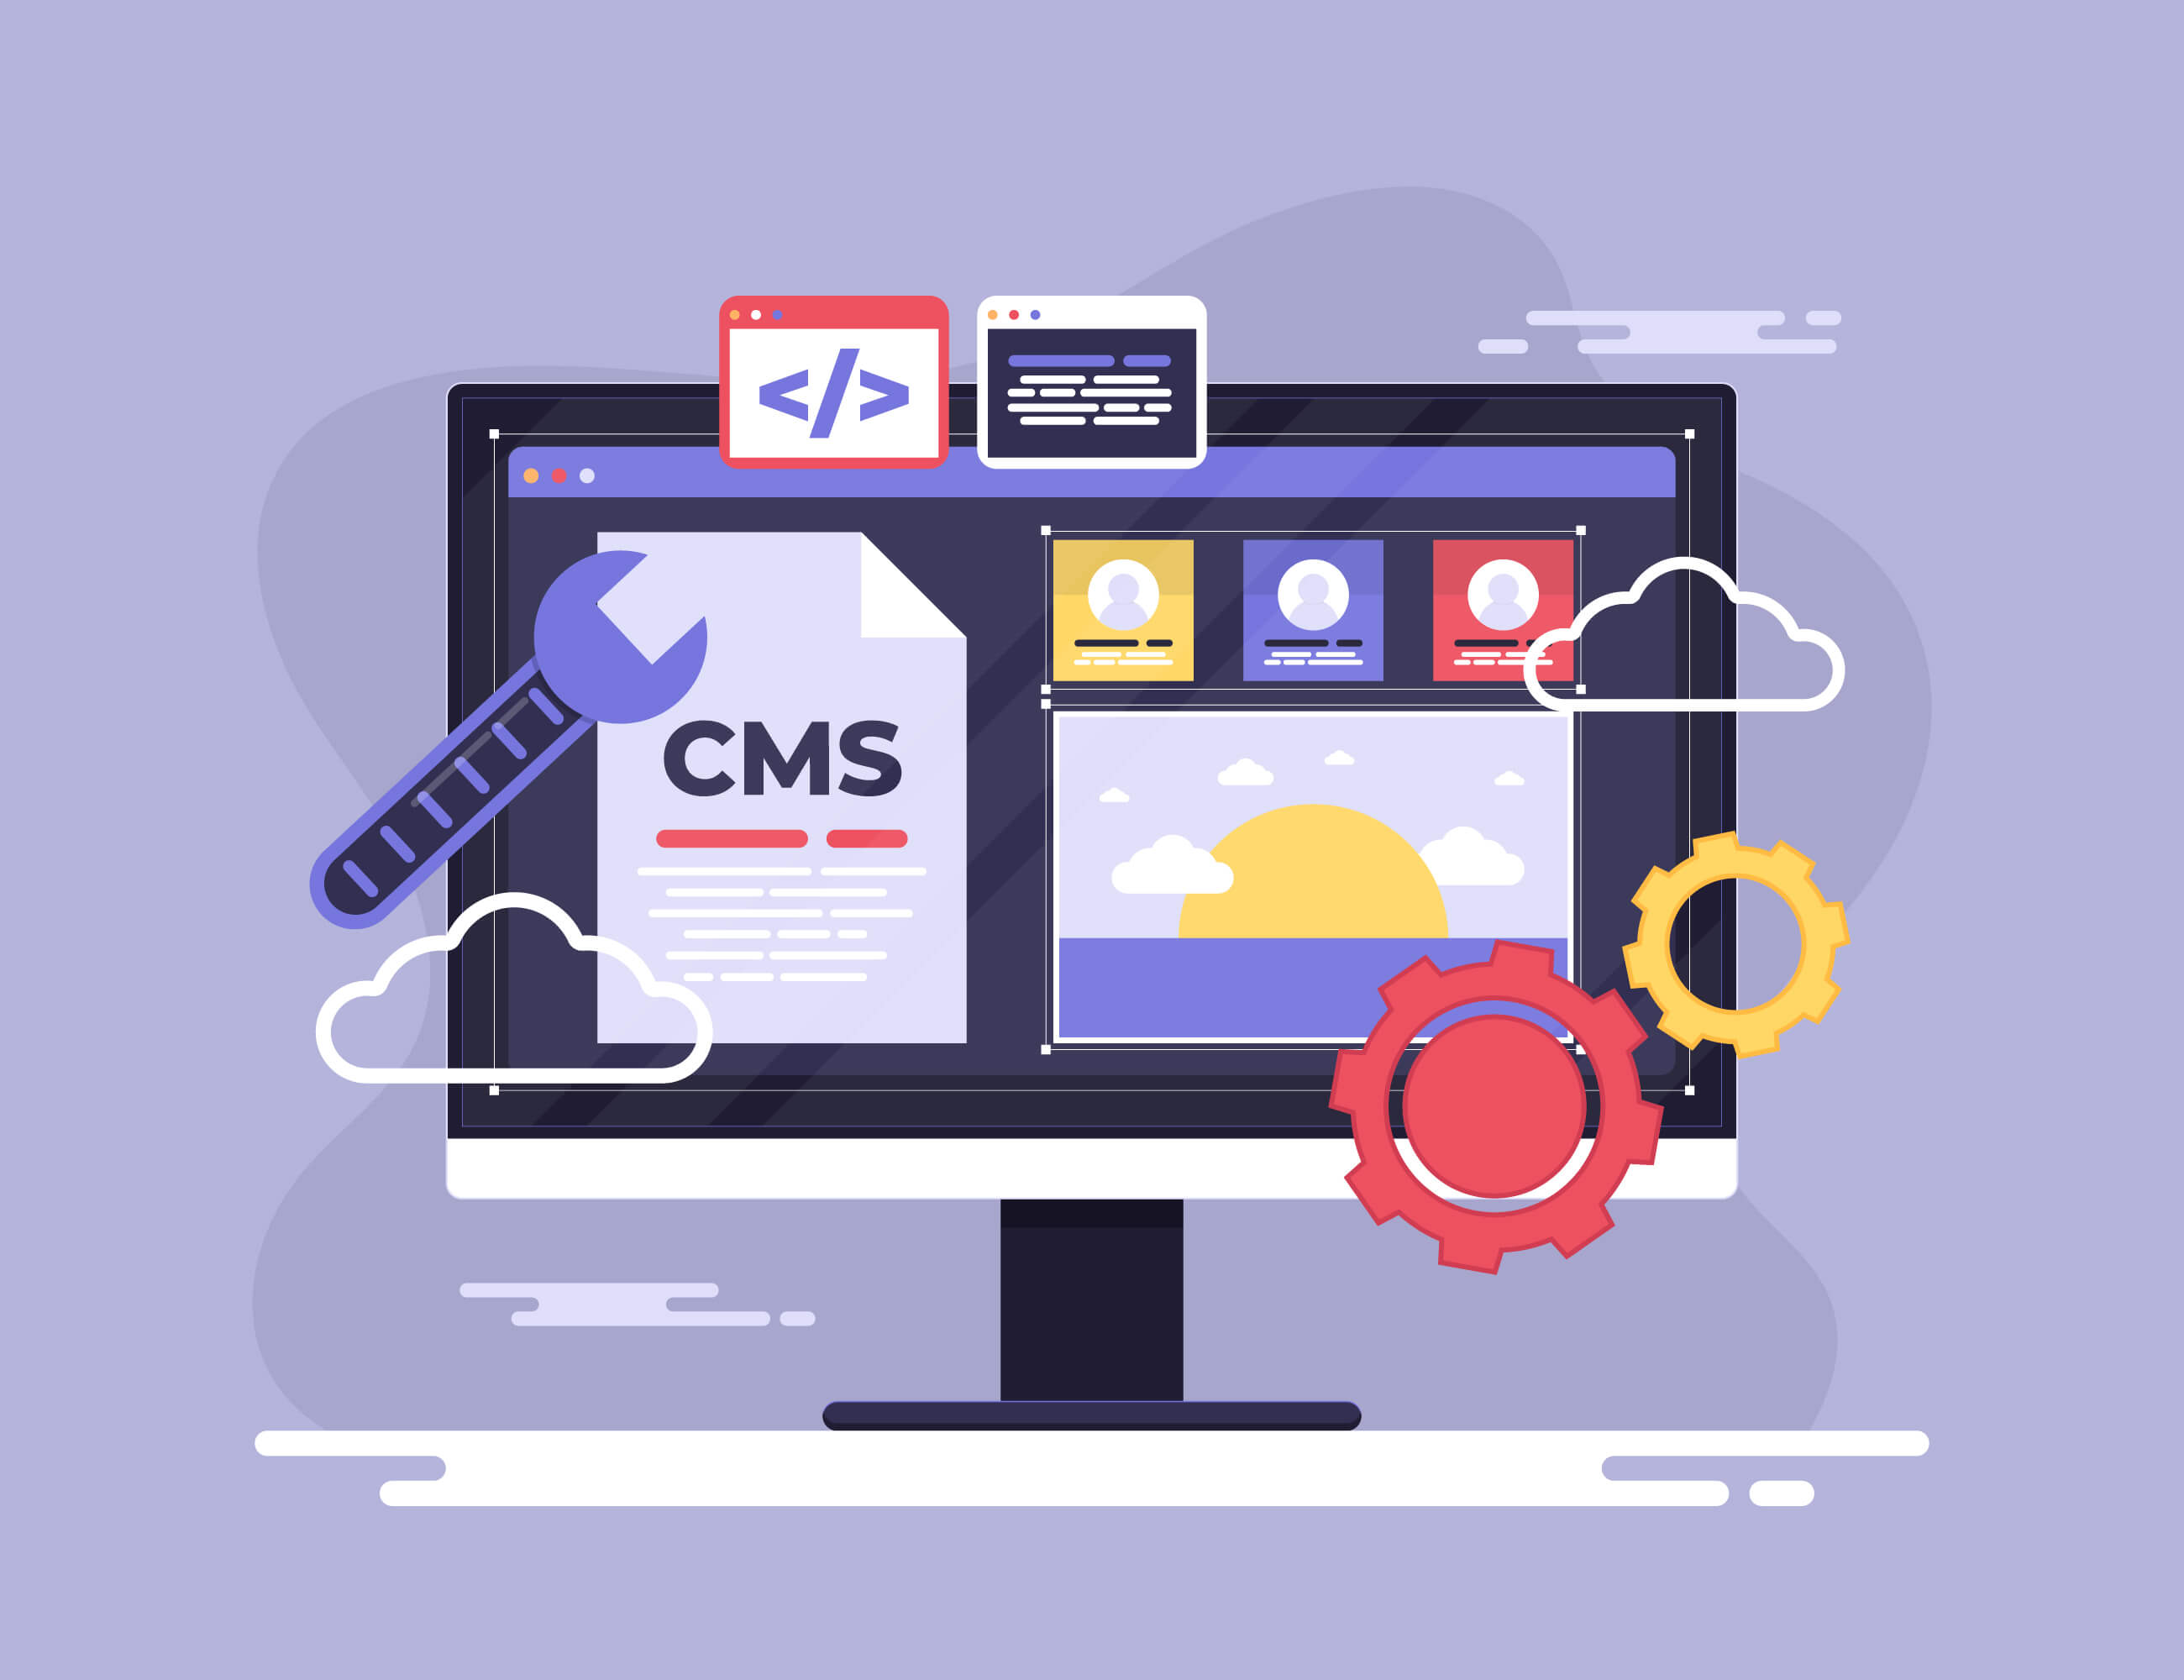
A Comprehensive Guide on Updating PHP Version in WordPress
WordPress, the widely-used content management system, relies heavily on PHP for its functionality. As PHP undergoes regular updates for security and performance enhancements, it's crucial to keep your WordPress installation up-to-date. In this article, we will walk you through the steps of updating the PHP version in WordPress to ensure your website runs smoothly and securely. Step 1: Check WordPress Compatibility Before updating PHP, ensure that your WordPress version is compatible with the desired PHP version. Visit the official WordPress website or your WordPress dashboard to check for recommended PHP versions. Updating to the latest stable release is generally advisable for optimal performance and security. Step 2: Backup Your Website Creating a backup is essential to prevent data loss during the PHP update process. Use a reliable backup plugin or your hosting provider's backup tool to create a full backup of your WordPress website, including files and the database. Step 3: Verify Hosting Support Check with your hosting provider to confirm support for the PHP version you intend to update to. Some hosting providers may have specific recommendations or requirements for PHP versions. If in doubt, consult your hosting support documentation or contact their support team. Step 4: Access Hosting Control Panel Log in to your hosting control panel, such as cPanel or Plesk. Navigate to the section where you can manage your website's PHP settings. The location may vary depending on your hosting provider, so refer to their documentation for guidance. Step 5: Update PHP Version Within the hosting control panel, locate the PHP version settings. Choose the desired PHP version from the available options. Save the changes, and the hosting environment will update your website to the selected PHP version. Step 6: Check Website Functionality After updating PHP, visit your WordPress website to ensure everything is functioning correctly. Check various pages, features, and plugins for any compatibility issues. If you encounter problems, consider updating your themes and plugins to their latest versions, as outdated components may not be compatible with the new PHP release. Step 7: Monitor Error Logs Check your website's error logs for any PHP-related issues. If errors are detected, they may provide insights into the compatibility problems. Address these issues by updating plugins or themes, or by seeking assistance from the respective developers. Step 8: Update WordPress Core, Themes, and Plugins To ensure optimal performance and security, make sure your WordPress core, themes, and plugins are up-to-date. Developers often release updates to address compatibility issues with the latest PHP versions. Updating the PHP version in WordPress is a crucial step in maintaining the security and performance of your website. By following these steps, you can seamlessly transition to a new PHP version, ensuring your WordPress site remains reliable and up-to-date with the latest industry standards. Regularly monitoring and updating your website components will contribute to a secure and efficient WordPress experience.

A Step-by-Step Guide on How to Update PHP Version in XAMPP
XAMPP is a popular open-source software that provides a local development environment for web developers. It includes Apache, MySQL, PHP, and Perl, making it an all-in-one package for building and testing websites on your local machine. However, as technology evolves, it becomes essential to update the components of XAMPP to ensure compatibility with the latest web development tools and practices. In this article, we will focus on the process of updating the PHP version in XAMPP. Step 1: Backup Your Projects Before making any changes, it's crucial to create backups of your projects to avoid potential data loss. Copy your project folders to a safe location outside of the XAMPP directory. Step 2: Download the Desired PHP Version Visit the official PHP website (https://www.php.net/downloads.php) and choose the PHP version you want to install. Make sure to select the version compatible with your projects and any specific requirements. Step 3: Stop the XAMPP Apache Server To update PHP in XAMPP, you need to stop the Apache server. Open the XAMPP Control Panel and click the "Stop" button next to Apache. This will ensure a smooth update process without any conflicts. Step 4: Replace the Existing PHP Files Navigate to the XAMPP installation directory on your computer (usually located in C:\xampp). Inside the "xampp" folder, find the "php" subfolder. Rename the existing "php" folder to "php_old" or a similar name. Then, copy and paste the contents of the downloaded PHP version into the "xampp" directory. Step 5: Update Configuration Files Some changes may be required in the XAMPP configuration files to reflect the new PHP version. Open the "httpd-xampp.conf" file located in the "apache\conf\extra" folder. Update the PHP version in the following lines: ScriptAlias /php/ "C:/xampp/php/" Action application/x-httpd-php "/php/php-cgi.exe" Replace the paths with the correct location of your new PHP version. Step 6: Start the Apache Server After updating the PHP files and configuration, go back to the XAMPP Control Panel and click the "Start" button next to Apache. This will restart the Apache server with the new PHP version. Step 7: Test Your Projects Open your web browser and access your local projects to ensure they work correctly with the updated PHP version. Check for any errors or compatibility issues and make necessary adjustments if needed. Updating the PHP version in XAMPP is a straightforward process that ensures you can take advantage of the latest features and improvements in PHP for your local development environment. By following these steps, you can keep your XAMPP setup up-to-date and maintain compatibility with modern web development practices.
A Comprehensive Guide to Installing and Configuring Ubuntu Server
Ubuntu Server is a powerful, open-source operating system that is widely used for hosting websites, applications, and various server-based tasks. Installing and configuring Ubuntu Server may seem daunting at first, but with the right guidance, it becomes a straightforward process. In this article, we'll walk you through the step-by-step process of installing and configuring Ubuntu Server. 1. Preparing for Installation: Before you begin the installation process, ensure you have the following: A bootable USB drive or a CD/DVD with the Ubuntu Server ISO. A computer or server where you intend to install Ubuntu Server. A stable internet connection for updates and additional software installations. 2. Installation Process: Insert the bootable USB drive or CD/DVD into the server and power it on. Follow the on-screen instructions to start the installation process. Choose the language and region settings. Configure your keyboard layout. Select the installation option - "Install Ubuntu Server." 3. Disk Partitioning: Choose a disk to install Ubuntu Server. Select a partitioning method: Guided – use entire disk, Guided – use entire disk and set up LVM, or Manual. Confirm the changes to the disk. 4. System Configuration: Set up a user account, providing a username and password. Configure the clock and time zone settings. Choose whether to install OpenSSH for remote access (recommended for server environments). Wait for the installation process to complete. 5. Post-Installation Steps: Remove the installation media and press Enter to reboot the system. Log in using the credentials you set during the installation. 6. Basic System Updates: Before proceeding with any additional configurations, it's essential to update the system: sudo apt update sudo apt upgrade 7. Configuring Network Settings: Edit the netplan configuration file to set up networking: sudo nano /etc/netplan/01-netcfg.yaml Make the necessary changes, save, and apply them: sudo netplan apply 8. Installing Additional Software: Depending on your server's purpose, install necessary software. For example, to install a web server (Nginx): sudo apt install nginx 9. Firewall Configuration: Ubuntu Server comes with the Uncomplicated Firewall (UFW) tool. Enable it and allow necessary ports: sudo ufw enable sudo ufw allow 80 # Allow HTTP traffic sudo ufw allow 22 # Allow SSH traffic By following this guide, you've successfully installed and configured Ubuntu Server. Further customization and application installations can be done based on your specific server requirements. Keep the system updated and secure to ensure optimal performance and reliability. If you're using Nginx as your web server, here are the steps to enable PHP and PHPMyAdmin: Enabling PHP: Install PHP and the required modules: sudo apt install php-fpm Configure Nginx to use PHP: Edit the Nginx default server block configuration file: sudo nano /etc/nginx/sites-available/default Add the following lines inside the server block: location ~ \.php$ { include snippets/fastcgi-php.conf; fastcgi_pass unix:/var/run/php/php7.4-fpm.sock; # Adjust the version based on your PHP version fastcgi_param SCRIPT_FILENAME $document_root$fastcgi_script_name; include fastcgi_params; } Save the file and exit. Restart Nginx and PHP-FPM: sudo systemctl restart nginx sudo systemctl restart php7.4-fpm # Adjust the version based on your PHP version Verify PHP installation by creating a test file: echo "<?php phpinfo(); ?>" | sudo tee /var/www/html/phpinfo.php Visit http://your_server_ip/phpinfo.php in a web browser to see the PHP information page. Enabling PHPMyAdmin with Nginx: Install PHPMyAdmin: sudo apt install phpmyadmin During the installation, you'll be prompted to choose a web server. Do not select Apache; choose None. Create a symbolic link to the PHPMyAdmin configuration file in the Nginx configuration directory: sudo ln -s /etc/phpmyadmin/nginx.conf /etc/nginx/conf.d/phpmyadmin.conf Restart Nginx: sudo systemctl restart nginx Secure your PHPMyAdmin installation: sudo mysql In the MySQL shell, run the following commands: CREATE USER 'phpmyadmin'@'localhost' IDENTIFIED BY 'your_password'; GRANT ALL PRIVILEGES ON *.* TO 'phpmyadmin'@'localhost' WITH GRANT OPTION; FLUSH PRIVILEGES; EXIT; Replace 'your_password' with a strong password. Open a web browser and navigate to http://your_server_ip/phpmyadmin. Log in using the MySQL credentials you just created. With these steps, you should have PHP and PHPMyAdmin successfully installed and configured with Nginx on your Ubuntu Server. Adjustments might be needed based on specific server configurations or preferences.